
Azure Beginner Guide
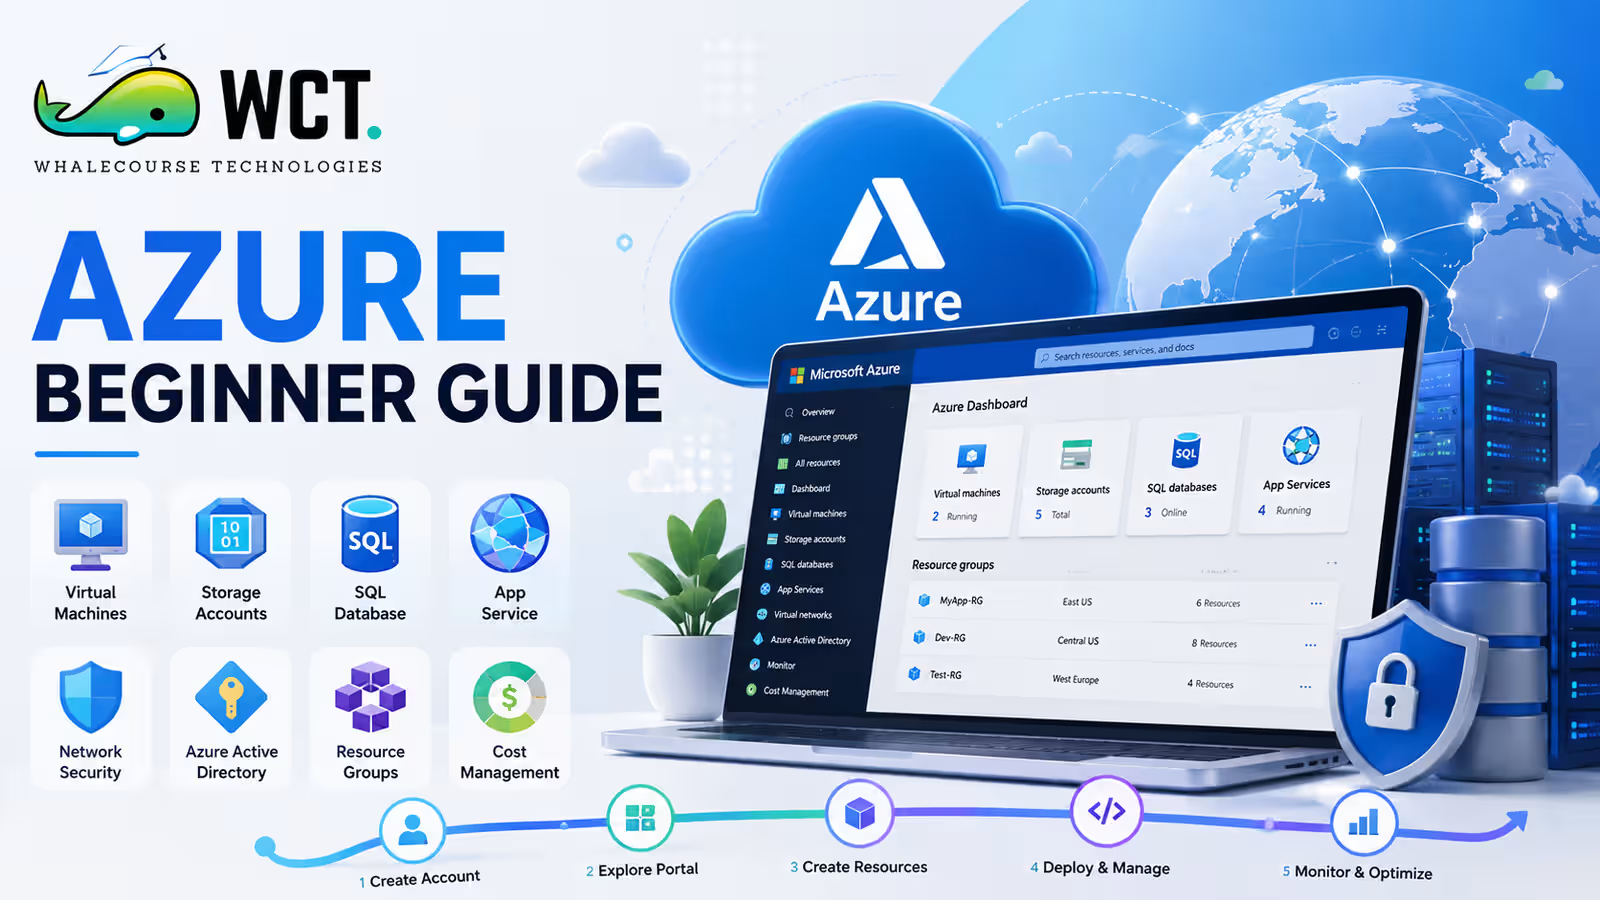
This Azure beginner guide is written for people who have little or no experience with cloud computing and want to get started with Microsoft Azure in a practical, structured way. You will not find theory for the sake of theory here. Every concept in this guide connects directly to something you will encounter when you actually log into Azure and start building. By the time you finish reading, you will know what Azure is, how its key components fit together, and what your first real steps should be on the platform.
What Is Cloud Computing and Why Does Azure Matter?
Cloud computing means renting computing resources — servers, storage, databases, networking, software — from a provider’s data center over the internet instead of buying and maintaining physical hardware yourself. You pay for what you use, scale up when demand increases, and scale back down when it falls. This model has fundamentally changed how companies build and run software.
Microsoft Azure is one of the three largest cloud platforms in the world, alongside Amazon Web Services and Google Cloud. It runs on Microsoft’s global network of over sixty data center regions. For businesses that already rely on Microsoft services such as Office 365, Teams, Active Directory, and Windows Server, Azure provides a seamless way to extend their IT environment into the cloud.
For this Azure beginner guide, the most important thing to understand is that Azure is not a single product. It is a marketplace of over two hundred different services that you can combine to build almost any type of computing solution — from simple file storage to globally distributed real-time applications.
How to Create a Free Azure Account
The best way to use this Azure beginner guide is to follow it with a live Azure account open in another browser tab. Microsoft offers a free account that gives you 200 USD in credits for the first 30 days and access to more than 55 services that remain permanently free regardless of the expiry of the trial period.
To sign up, visit portal.azure.com and click the option to create a free account. You will need a Microsoft account — if you use Outlook or Xbox, you already have one. During registration, Azure asks for a credit card to verify your identity, but it will not charge you automatically when the free period ends. You have to actively upgrade. Once inside the portal, spend five minutes clicking around before creating anything. Familiarity with the interface prevents a lot of confusion later.
Key areas to locate on your first visit: the search bar at the top (this is the fastest way to find any service), the resource groups section, the cost management and billing page, and the Azure Active Directory section under your account settings.
Understanding Subscriptions and Resource Groups
Before creating any Azure resource, you need to understand the two organizational layers that sit above everything else: subscriptions and resource groups.
A subscription is your billing container. All the resources you create and all the costs they generate are associated with a subscription. A single Azure account can have multiple subscriptions — this is common in companies where different departments or projects need separate billing accounts. Your free trial gives you one subscription with the 200 USD credit.
A resource group is a logical container for related Azure resources. Think of it as a folder. When you build a web application on Azure, you might create a resource group called myapp-prod that contains the virtual machine running the app, the database, the storage account, and the networking components. When you delete the resource group, all the resources inside it are deleted together — which is useful both for cleanup during learning and for managing production deployments.
Always create a resource group before creating any service. Name it something meaningful and consistent. This habit pays off immediately when you have multiple projects running on the same account.
Your First Azure Virtual Machine
Creating a virtual machine is one of the first practical exercises every Azure beginner should complete. A virtual machine is a computer running inside Azure’s data center. You choose the operating system, the amount of CPU and RAM, the storage type, and the region where it will run. Azure starts it within a few minutes.
For this Azure beginner guide exercise, create a small Linux VM using the B1s size, which is among the cheapest options and stays within the free tier allowance for the first 750 hours. Choose Ubuntu Server 22.04 LTS as the operating system. Select password authentication rather than SSH keys for simplicity at this stage. Deploy it into the resource group you created earlier.
Once the VM is running, connect to it using Azure Cloud Shell — the browser-based terminal available in the Azure portal. Type a few basic Linux commands to confirm the VM is working. When you are done, stop the VM (not delete — stop) to avoid consuming credits while it is not in use. This hands-on experience teaches you more about Azure compute in thirty minutes than an hour of reading.
Azure Storage: Blob, File, Table, and Queue Explained
Azure Storage is a managed cloud storage service. When you create a storage account, you get access to four storage types within it, each suited for different purposes.
- Blob Storage — For storing unstructured data like images, videos, backups, log files, and documents. This is the most commonly used storage type. Files stored here are called blobs, organized inside containers.
- File Storage — Cloud file shares that mount like a network drive on Windows or Linux. Useful for sharing files between multiple virtual machines or replacing on-premises file servers.
- Table Storage — A NoSQL key-value store for structured data that does not require complex relationships. Much cheaper than a full database for simple lookup tables.
- Queue Storage — For storing messages that applications pass between components. Used in decoupled application architectures where one part of the system produces tasks and another processes them asynchronously.
As a beginner, focus on Blob Storage first. Create a storage account, create a container, and upload a file using the Azure portal. Change the access level to allow public read access and open the file URL in your browser. This simple exercise demonstrates the core concept of cloud object storage in minutes.
Azure Networking Basics for Beginners
Networking in Azure can be complex at the enterprise level, but the fundamentals you need as a beginner are straightforward. The core networking concept in Azure is the Virtual Network (VNet). A VNet is a private network inside Azure where your resources communicate with each other securely. It is like having your own isolated section of the internet inside Microsoft’s data center.
When you create a virtual machine, Azure automatically creates a VNet and subnet for it. Resources in the same VNet can communicate with each other privately. To control what traffic enters and leaves your VMs, you use Network Security Groups (NSGs) — these are essentially firewall rules. For example, when you create a Linux VM and want to SSH into it, you need an NSG rule allowing inbound traffic on port 22 from your IP address.
For public internet access, Azure provides Public IP addresses that you attach to a VM’s network interface. You can also use Azure Load Balancer to distribute traffic across multiple VM instances — a key component for building highly available applications. These networking concepts become very practical very quickly once you start deploying real workloads.
Azure App Service: Deploy a Web App Without Managing Servers
Azure App Service is a platform-as-a-service (PaaS) offering that lets you deploy and run web applications and REST APIs without managing the underlying server infrastructure. You give Azure your application code and it handles the OS, runtime, scaling, and availability automatically.
App Service supports applications written in Python, Node.js, Java, .NET, PHP, and Ruby. For a beginner project, try deploying a simple Python Flask app or a Node.js Express app using the Azure portal or the Azure CLI. The free tier of App Service allows you to run small applications at no cost, with some limitations on features like custom domains and SSL.
This is one of the most practical exercises in any Azure beginner guide because it shows you the power of managed services. You focus entirely on your application code while Azure manages everything else. Most real-world web applications deployed on Azure use App Service or its container-based equivalent, Azure Container Apps, rather than raw virtual machines.
Azure Cost Management: Avoiding Surprise Bills
Cost management is one of the most practical topics in this Azure beginner guide because unexpected bills are one of the most common frustrations new users experience. Azure charges are granular and accumulate continuously for running resources. A few basic habits prevent most cost surprises.
- Always stop or delete VMs when not in use — A stopped VM does not incur compute charges, though storage costs continue. A deleted VM incurs no charges at all. If you created a VM for practice and no longer need it, delete it along with its associated disks, public IP, and network interface.
- Set up cost alerts — In the Cost Management section of the Azure portal, create a budget alert that sends you an email when your spending reaches 50 percent and 90 percent of your monthly limit. This is a simple five-minute setup that pays off immediately.
- Use the Azure Pricing Calculator before deploying — Estimate monthly costs for any service before you create it. The calculator at azure.microsoft.com/pricing/calculator allows you to configure any combination of services and see a detailed cost breakdown.
- Review your Cost Analysis page weekly — This view shows your spending by service, resource group, and location. Unexpected spikes are usually caused by resources you forgot to clean up.
Azure Certifications: Your Learning Roadmap After This Guide
Once you have spent two to four weeks working through this Azure beginner guide and building practice projects on your free account, you will have a solid foundation to pursue formal Azure certifications. Here is the recommended learning path for someone starting from where you are now.
AZ-900 Azure Fundamentals is the logical first certification. It covers cloud concepts, core Azure services, pricing models, and support options. Most candidates with three to four weeks of hands-on practice are ready to sit this exam. It validates your foundational knowledge and is widely recognized by employers as a credible entry-level credential.
AZ-104 Azure Administrator is the next step if you want to manage Azure environments professionally. It covers virtual machines, storage, networking, identity, and monitoring at a deeper level than AZ-900. Most learners need around two to three months of consistent study and practical lab experience after completing the fundamentals before attempting this certification.
AZ-204 Azure Developer is the right path if your background is in software development and you want to specialize in building cloud-native applications using Azure services like Functions, Service Bus, Cosmos DB, and API Management.
Common Beginner Mistakes to Avoid on Azure
Understanding common mistakes early helps you avoid wasted time, extra costs, and unnecessary frustration. These are the mistakes that show up consistently among beginners working through their first weeks on Azure.
- Creating resources in the wrong region — Always choose the region closest to your users or closest to you for practice. Selecting a distant region increases latency and can affect pricing for some services.
- Leaving resources running overnight — It takes thirty seconds to stop a VM before you close your laptop. Skipping this step because it is inconvenient is the most common source of unexpected charges during the free trial period.
- Skipping resource group organization — Creating resources without logical grouping makes cleanup painful and increases the risk of orphaned resources generating charges.
- Trying to learn everything at once — Azure includes hundreds of cloud services. Start by learning compute, storage, networking, and identity before exploring more advanced services. Going wide too early leads to shallow understanding of too many things rather than solid mastery of the fundamentals that underpin everything else.
Practical Projects to Build in Your First Month
Reading about Azure services is useful. Building things with them is essential. Here are four projects that cover the most important foundational services and are achievable within your free credit allowance.
- Static website hosting — Enable static website hosting on an Azure Blob storage account and deploy a simple HTML and CSS website. Configure a custom 404 error page. This teaches you Blob Storage, access controls, and public URL configuration in under an hour.
- Virtual machine with a web server — Create a Linux VM, install Nginx using SSH, configure the NSG to allow HTTP traffic on port 80, and access your web server’s default page from a browser. This teaches compute, networking, and NSGs together in a practical context.
- Azure SQL Database with web app — Create an Azure SQL Database, connect it to an App Service web app, and build a simple CRUD application. This covers both PaaS database and PaaS compute services and how they connect.
- Azure Function with a timer trigger — Create a serverless Azure Function that runs on a schedule and writes a log entry or sends an HTTP request. This introduces serverless computing and the Azure Functions programming model without requiring any infrastructure management.
Start Your Data Analytics Career Today
Join WhaleCourseTechnologies for affordable training with hands-on projects and placement support.
Conclusion
This Azure beginner guide has given you a solid starting framework for understanding Microsoft Azure. You now know what cloud computing is, how to set up your free account safely, how Azure organizes resources into subscriptions and resource groups, and what the key services look like in practice.
The next step is consistent hands-on work. Spend an hour each day for the next four weeks building the projects described in this guide. When you have completed them, you will have practical experience with compute, storage, networking, and application deployment on Azure — and you will be genuinely ready to sit the AZ-900 exam. Everything after that is a matter of choosing the right specialization for your career goals and building progressively more complex projects in that direction.
In This Article
Enroll in Our IT Courses
Master IT Program at whalecoursetechnologies
- Expert Mentorship from IT Professionals
- Job-Ready Skills with Live Projects
- Career Boost Add-on Modules
- 100% Placement & Interview Support
